
Summer 2008 was when I started to collect wine corks, and I finally made my board in a 2ft x 3 ft picture frame in 2011.
First, I picked my frame. I got it for $10 dollars on uber clearance at Hobby Lobby.
This frame was first used at my bachelorette party in 2010:
(the photo wall was made of 2 different wall papers. The girls all wrote me notes on the pink paper - some funny, some sweet, and some inappropriate ;-) And from the ceiling hung ribbon in black and pink! Super cute!)


Then this frame was used again at wedding as a chalkboard menu (I used a very cheap foam board and sprayed it with chalk paint and had my friend with much cuter handwriting write our our menu):

Now time to get to my Wine Cork Board.
Here's materials I needed to attach a permanent backing to my frame. A hammer, a flat-head screw driver and glazier point push pins, and a think piece of wood - you can get an associate at Lowe's to cut this to size.

I put the board on the back of my frame and hammered the pins in at an angle in every corner and a few on every side.

Here's a full view from the back, you can see the pins hammered into the frame.

And a closer view from the side:

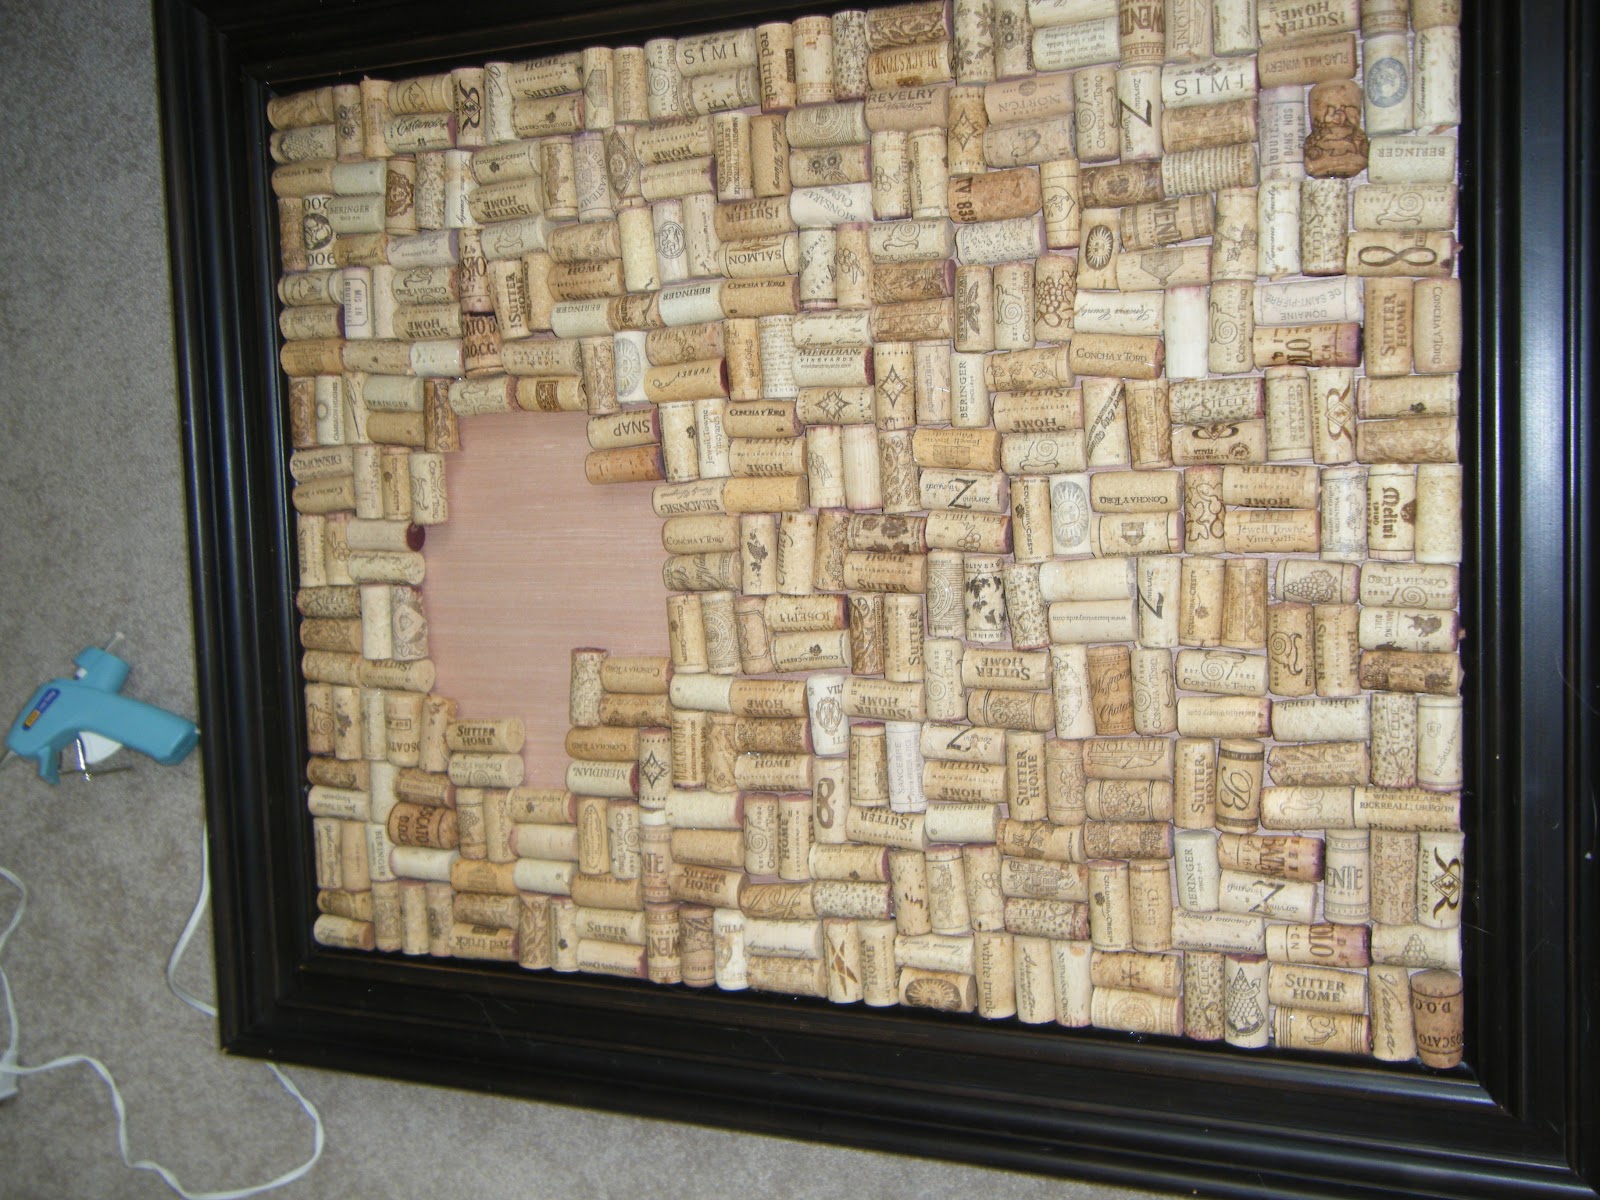
First I laid out the corks, I didn't follow your normal 2 by 2 pattern. I just went with it:

And hot glued them into place:

Lastly I hammered in two large sawtooth picture frame hangers at a distance where I would hit studs in my wall (the frame is indeed heavy):

And my finished product! Proudly hanging between our living room and kitchen:


To see my 2nd Cork Board Project (even prettier!) click here!
No comments:
Post a Comment